What Goes Into Making a Gypsy Grip

Step 1: Leather Selection & Preparation
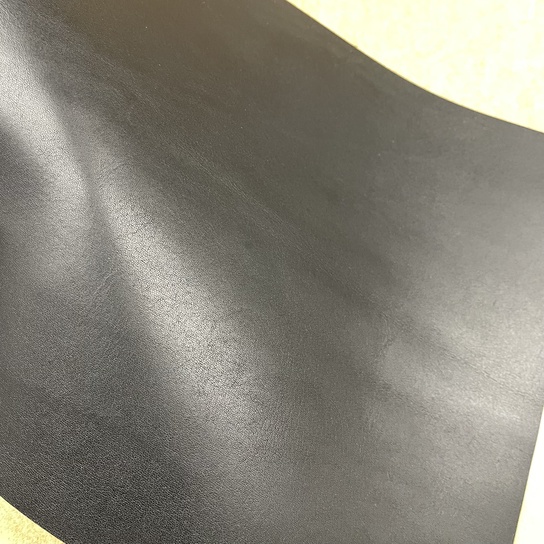
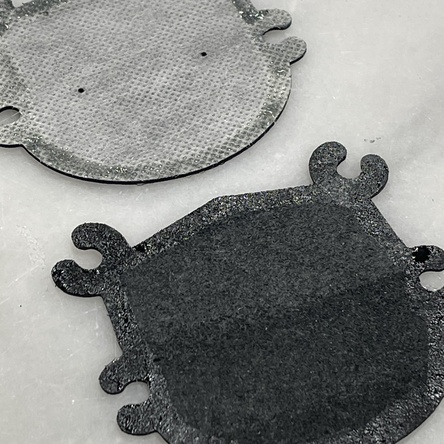
As a natural material imperfections are to be expected with every piece of leather. Before rough cutting the pieces I’ll make a Gypsy Grip from, I check to make sure no blemishes are present. Now I have my approximately sized leather I will attach a material, commonly used in high end watch strap making to prevent the pick pockets from stretching with use

Step 2: Cutting, Glueing & Stitch Hole Making
Due to the intricate design of a Gypsy Grip, cutting free hand will result in an inconsistent and rough item. To cut out our Grip we have had custom cutting dies made, one for the front panel and one for the back. Next I’ll apply a little glue to the border of the front and back panel. These panels are then carefully attached to each other with the help of a jig to assure perfect alignment. It’s ultimately the stitching that’ll hold everything together, the glue is used to keep the front and back panel together while I make the stitching holes and during stitching.
For an item the size of the Gypsy Grip a 3mm stitch spacing is a good choice. Before making the stitch holes I’ll use a set of dividers to mark a line 3mm from the outside edge. This will ensure our stitch line is a consistent distance from the edge. With a 2 pronged 3mm pricking iron I will now carefully make my stitch holes.

Step 3: Saddle Stitching
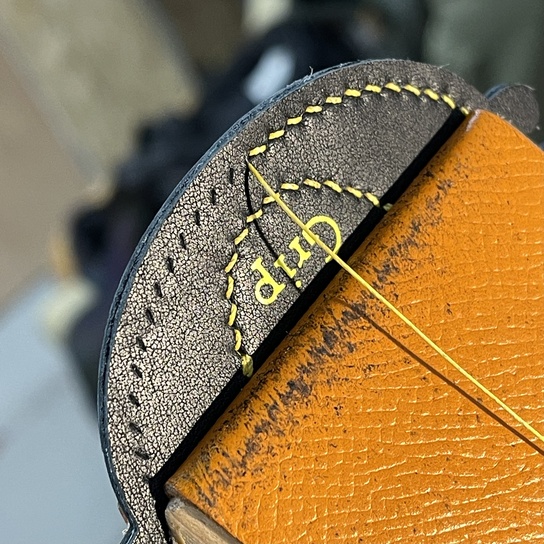
Saddle Stitching is the method of stitching used to hand stitch leather items. It offers some significant advantages over a machine stitch (lock stitch) but is incredibly time consuming and requires a skilled hand.
The main advantage of a saddle stitch is if a stitch breaks it’ll travel no further. This is because it’s made up of a single thread woven through the layers of leather with a knot hidden in the middle of the layers at every stitch. If a stitch breaks for a lock stitch however, it will propagate along the whole stitch line eventually causing the stitch line to come apart.

Step 4: Edge Finishing
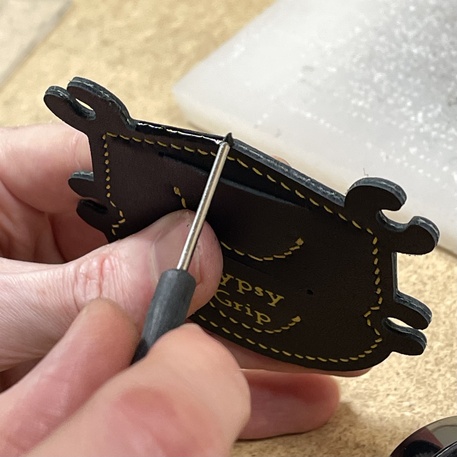
Apply final refinements that elevate the product from good to exceptional. This includes careful polishing, detailing, and quality assurance checks.
Step 5: Boxing
All our boxes are made in house too. There is a whole process involved in this aswell but I suspect it's just me that's interested in it so I'll save you the details. Suffice it to say, the boxes are very angled, no corners are cut
